I have a perennial New Year’s Resolution to paint more. Some years I do better than others. However, one thing that has really helped me be able to paint more is to make tiny watercolor painting kits and leave them laying around: on the coffee table, in my work bag, my purse, on my nightstand. Having the tools right there, where I don’t even need to stand up to get them, makes painting every day a real possibility. Keeping the scale small – really small – means I’m more likely to feel like making art is achievable in the time I have, and keeps the stakes low so I can just enjoy the process. At the same time, I want quality tools and materials that will feel good to use and make giftable (or even salable) art if I’m that inspired. And it all needs to fit in a tiny bag so I won’t be tempted to leave it behind. After a few years of making and using tiny watercolor kits – here are some set-ups, products, and tips that have worked for me!
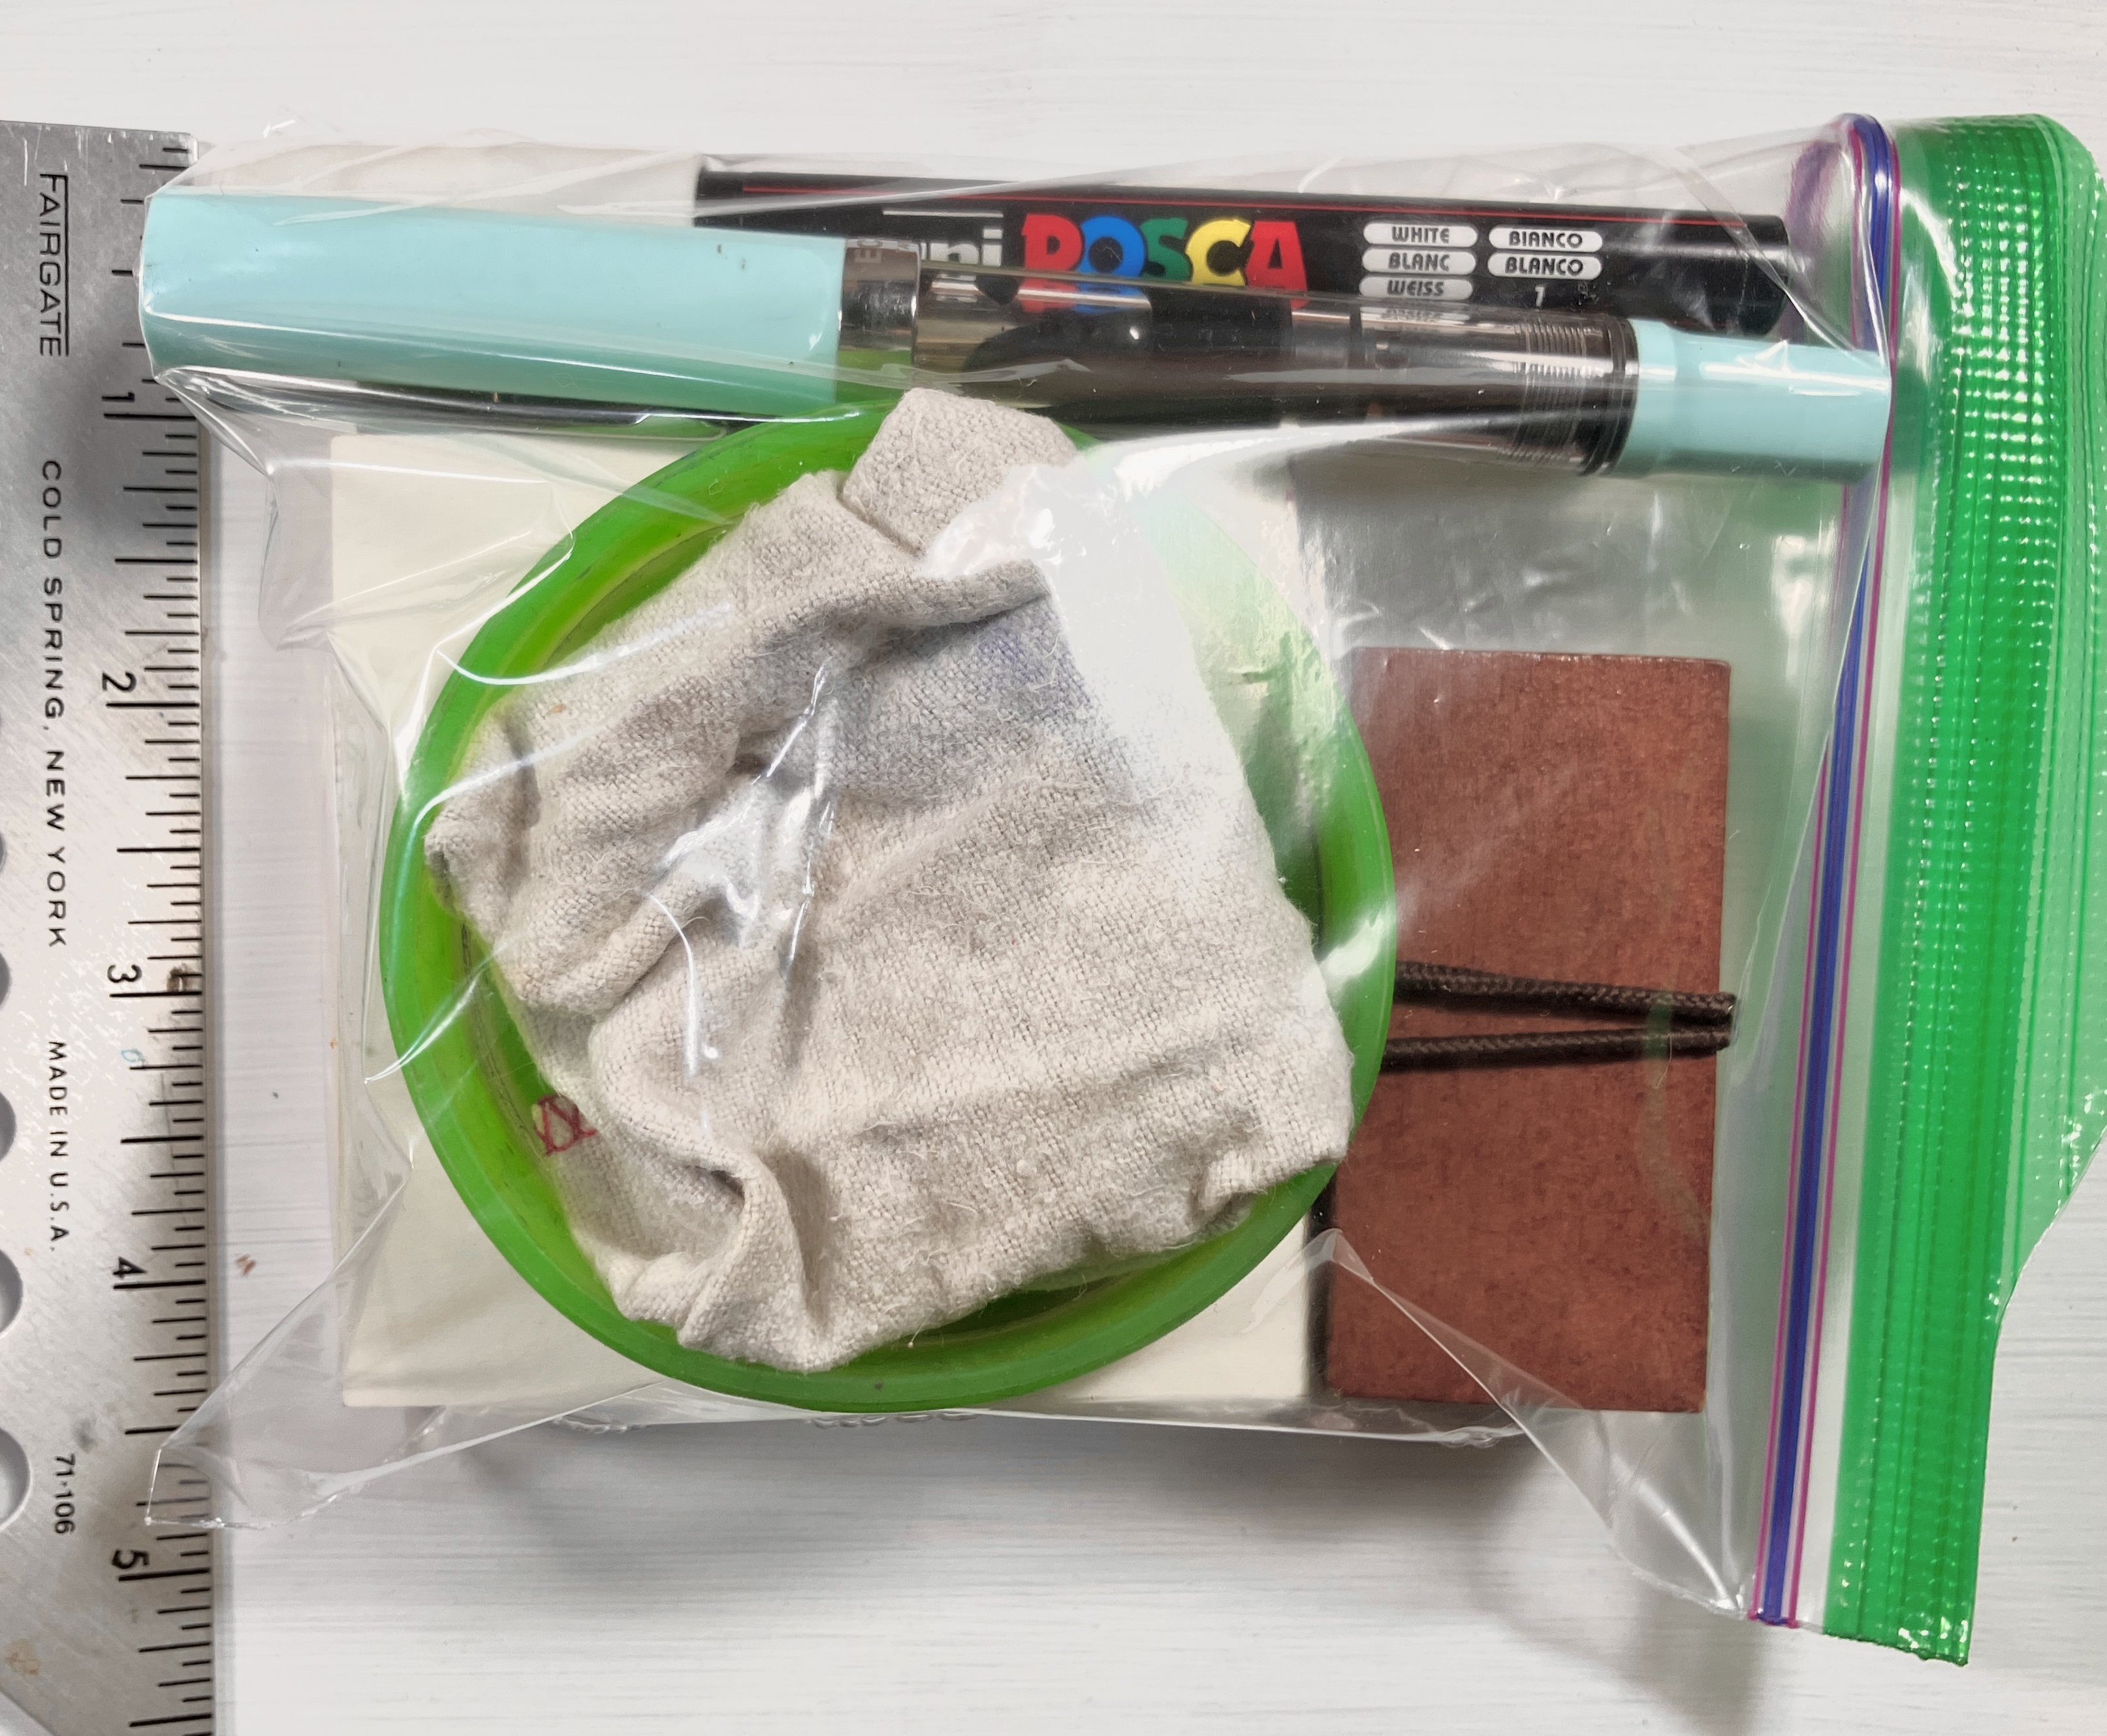
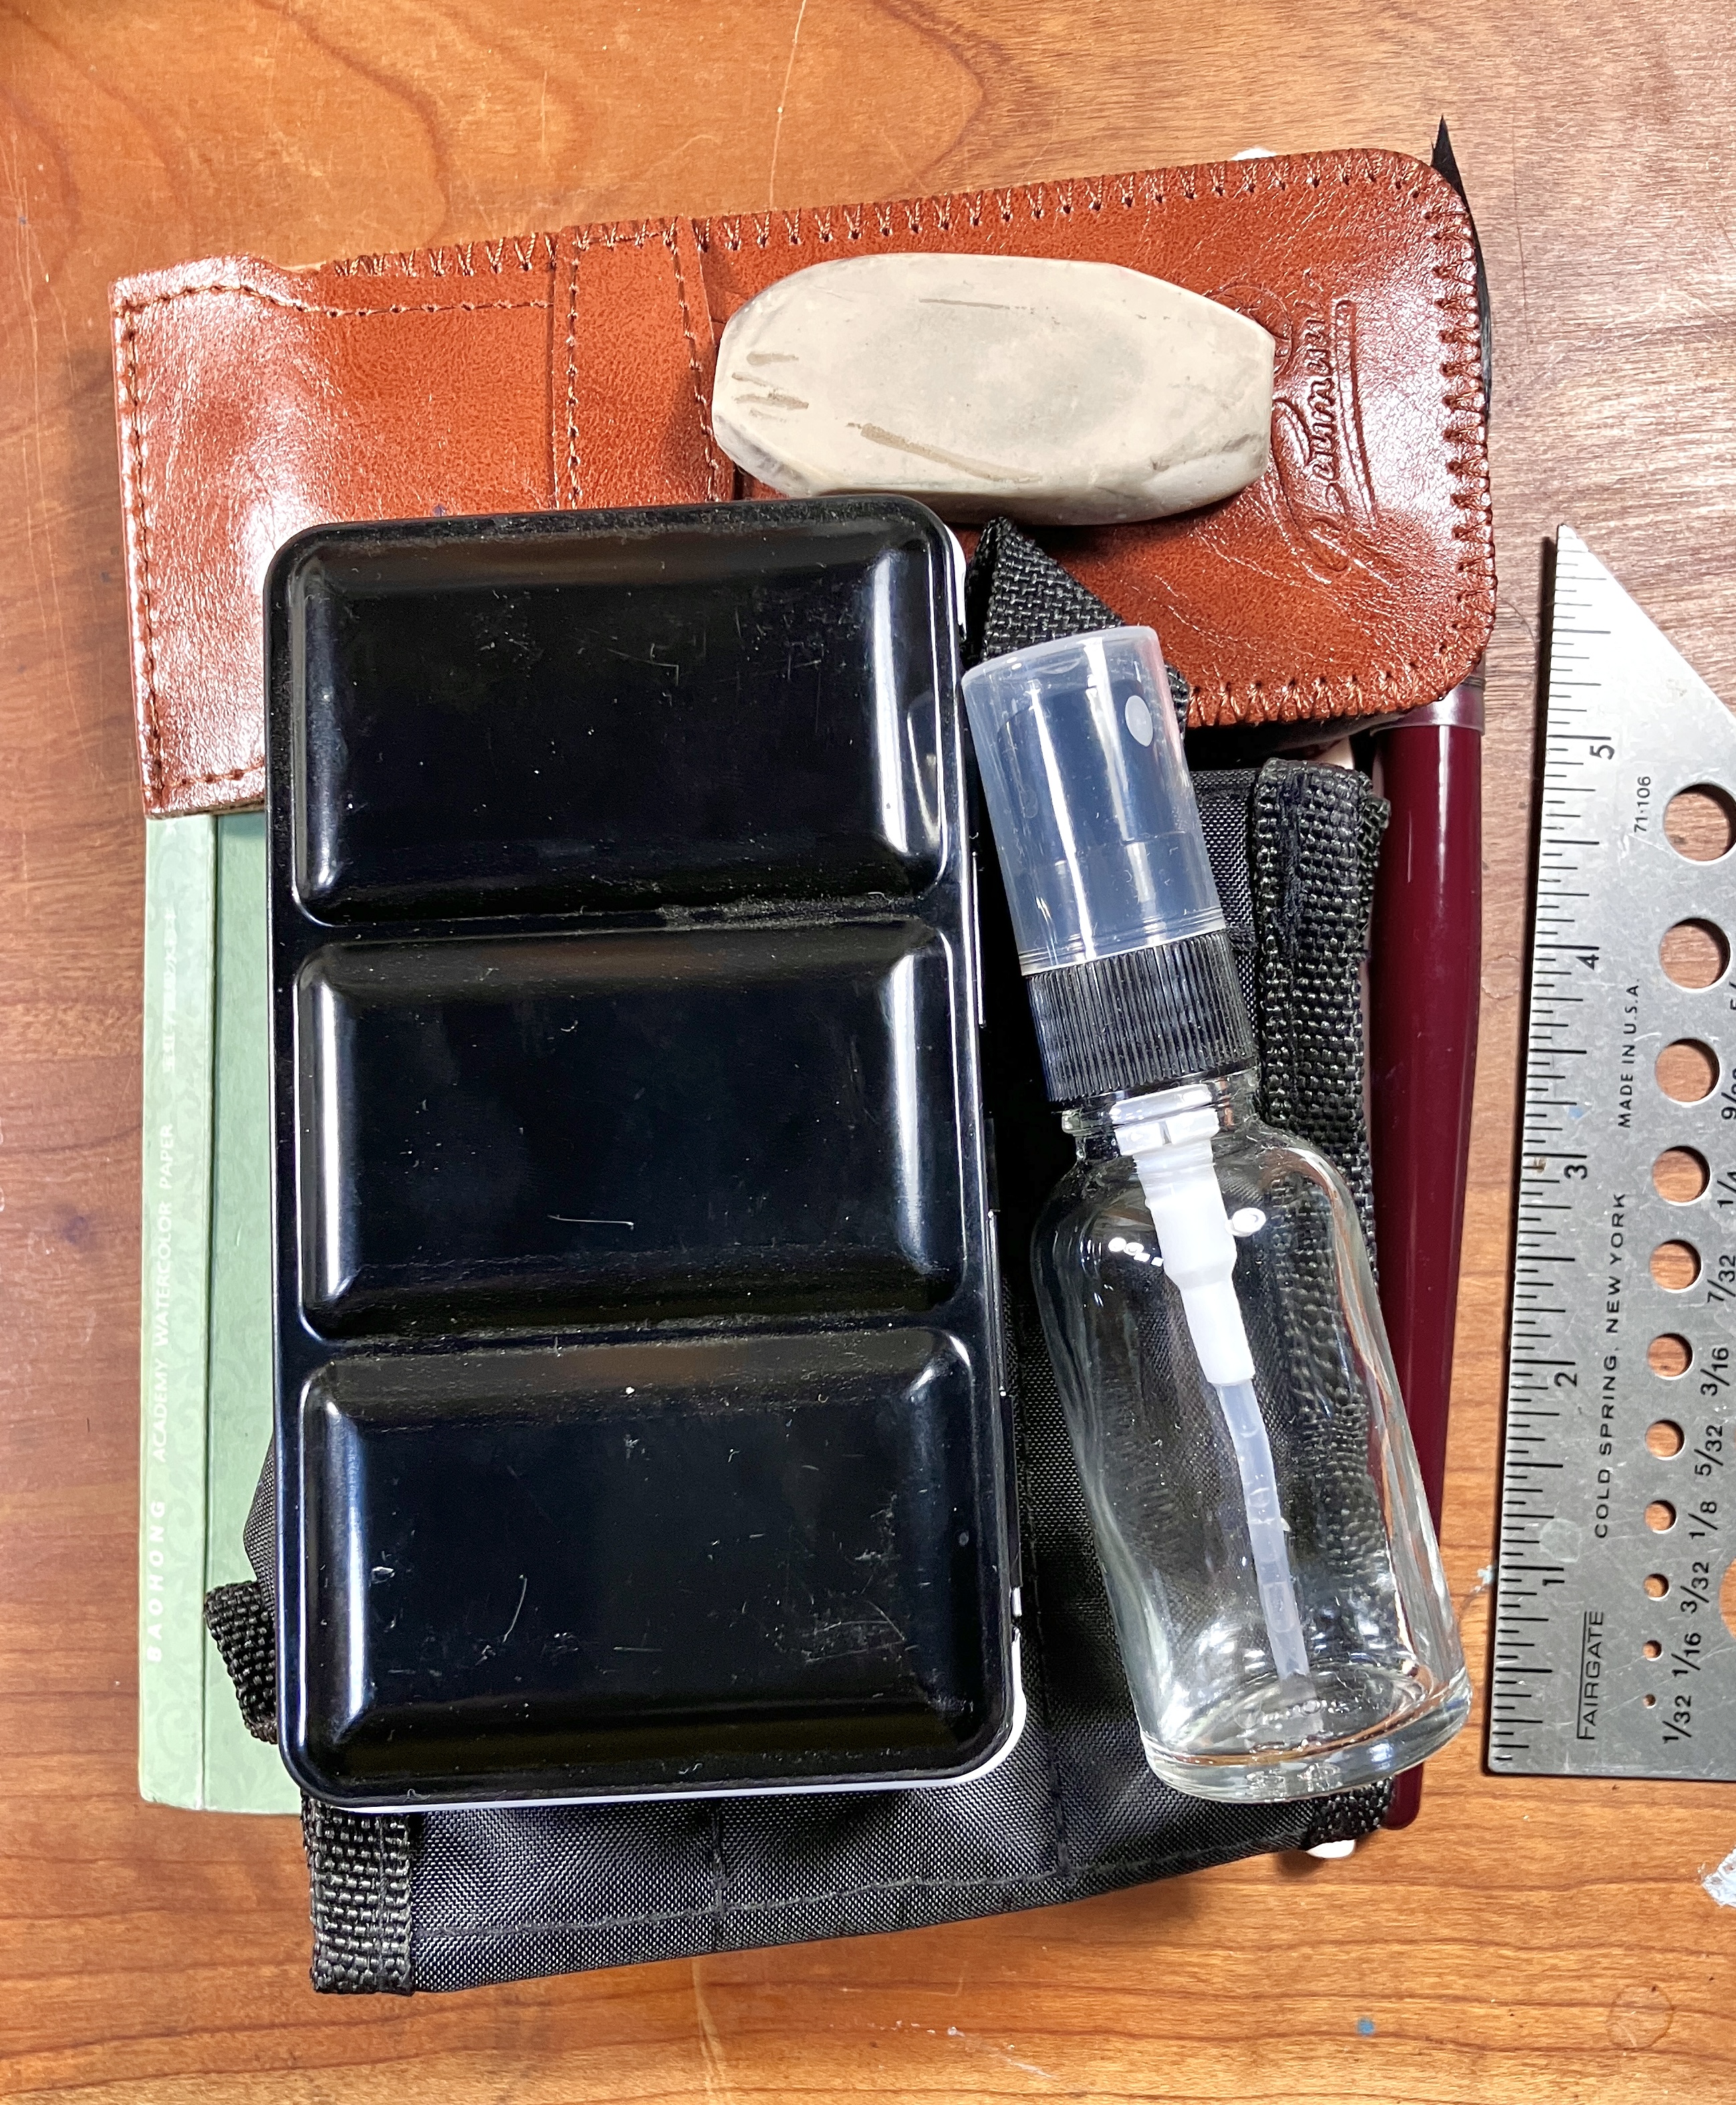
I have three sizes of tiny kits that I use in different places. This is the one I use the most. I can use it to make a fully-formed painting in 20-30 minutes during a lunch break or in the evening (instead of doom-scrolling). It packs down to roughly 4.5×6″ in a pint zip-lock bag, so it easily fits in my work bag, backpack, or glove box.
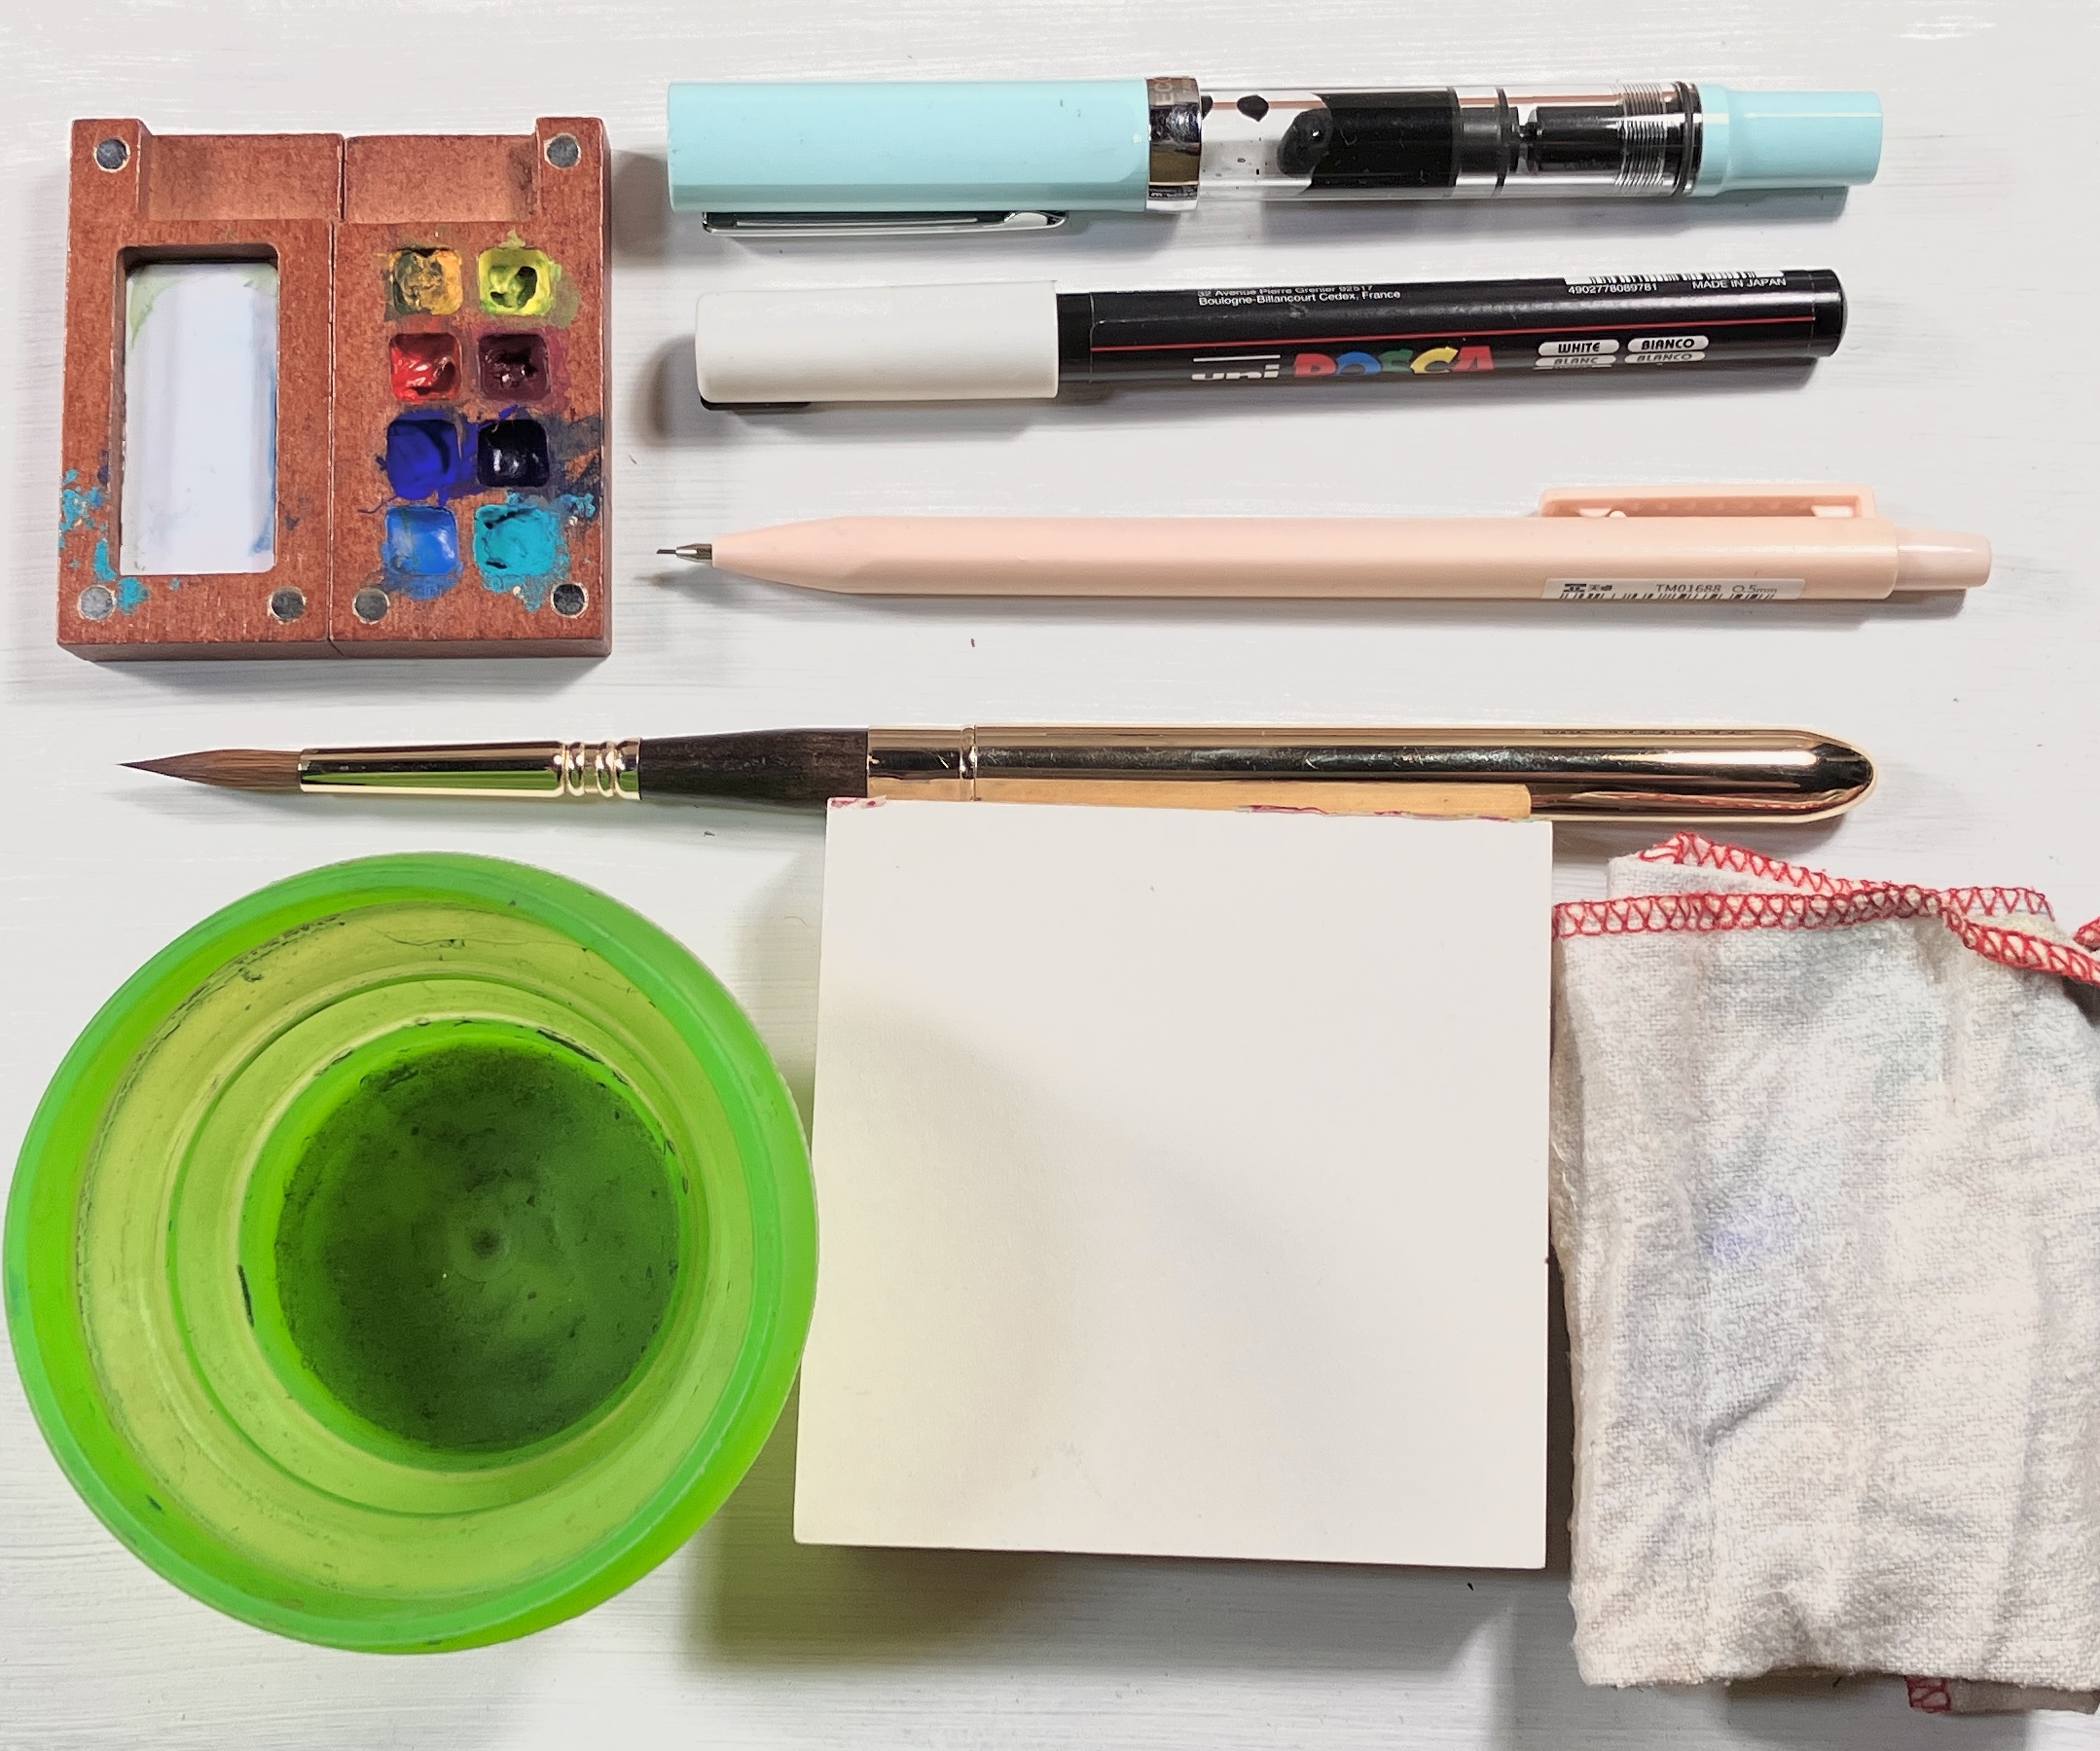
The tiny wooden palette is available from Amazon or Temu and is very inexpensive (slightly bigger tiny wooden palettes or palettes packaged with brush pens and a small sketch book are also available). I’ve bought a few of these and they were similarly well-made and easy to fill with the paints of your choice. Small magnets attach the sides together when it’s open or closed, but aren’t strong enough to keep it from getting knocked open in my bag – so I also wrap a rubber band around it. These are made to clip onto a sketch book, which I don’t do – the clip takes up a lot of space and I want the mixing area to be level. It can be fun to have a couple to choose from with different pigments. Another version of these palettes has a lid which pivots open – this is a poor design as the lid smears paint from one pan into another and makes a big mess. Look for the ones made as two separate halves.
For a brush, I use the smallest of this travel brush set or my treasured Escoda Reserva kolinsky sable travel brush (which can no longer be shipped to the US – this would be a good substitute). The first option, though inexpensive and a bit of a shedder, I find to be quite adequate for this size of painting. I have one of these mini-sized silicone collapsible cups for water, or if I’m really packing light, a water brush. Water brushes are available very inexpensively online and in stores, but I recently saw this push-button version which promises more control over water dispensing. I’d like to give it a try!
A big space-saver for a mini kit is to pack a rag instead of paper towels. A rag holds more water, and you can rinse it out, dry it, and reuse it if you’re traveling. Old t-shirts work great. I’ve been using these “reusable baby wipes” made from flannel – we got them when our daughter was a baby nine years ago, and they’re still going strong.
Blocks of paper are preferable, because otherwise you need to have a work surface, tape, etc. I don’t like to work in sketchbooks because I want to be able to remove paintings to give away, display, or sometimes sell. My work is fairly detailed, so when I don’t have a lot of time, I want to work very small. Very small blocks are hard to find, but a few good-quality 100% cotton options are out there. I like Meeden mini blocks (3″x4″ – five blocks of 10 sheets for $10) and Fluid 100 (4×6″ block for $7). The Stonehenge Mini Aqua Pad 2.5 x 3.75″ ($2) is only glued on one side, but the sheets are so small it hardly matters. Pictured in my kit is a 3″ square pad of mixed media paper which is very fragile to work on, but which I’ve been using anyway because I like the square format.
When I’m short on time, I find that having a waterproof black pen and a white paint pen give me shortcuts for adding the lightest light highlights and the darkest dark details on a small scale. There are dozens of options here, but I’m in love with my TWSBI eco fountain pen which is also great for sketching, holds a ton of ink, and never seems to clog or drip. I rarely go on a trip without it. A Posca extra-fine tip marker is a good white paint option and is very opaque.
All these items (plus a pencil) easily fit in a pencil case or pint Ziplock bag – I’ve been using one of these zippered pencil pouches and it’s holding up well.
If I’m going camping or on vacation, I know I’ll have time to make some more involved paintings and plein air studies, but I still won’t have a lot of space for carrying things. In this case, I scale up a bit. I fill half pans with paint and keep them in a mint tin, or a small folding tin palette. Empty half pans are available from Amazon and other online sellers, but for not much more you can get a whole tin palette with the pans, and I like having the additional mixing space. I’ll bring the full set of travel brushes referenced above, and also a large, inexpensive wash brush. I’ve dropped my brushes in the dirt enough times to quit bringing my best brushes on camping trips! A Meeden 5×7″ block of 20 sheets ($13) (also available on Amazon with free shipping) is a good paper size, or I might go with a 7×10″ block. The Master’s Choice 7×10″ block ($22) is a good value. I also like to have a bit more water, so I’ll bring my collapsible Aqua Tote and a mini spray bottle. Packed up, this makes a roughly 6″x 8″ x 3″ kit that fits well in a re-purposed toiletry bag.

For long drives, waiting rooms, flights, and other less-than-ideal working environments I simplify further and just make notan-style drawings with black, white, and a grey mid-tone. I find these are excellent brain-training for seeing big shapes and making good compositions, and provide useful references for later work. All you need is a black and a grey marker (Copic markers are a good choice) and a mini-sized mixed media pad. Alternatively, a water soluble graphite pencil and a water brush can allow you to do similar greyscale work with gradients that will transfer nicely to watercolor if you use it as a reference later.
For all these supplies, the best way to make sure they get used is to leave them out where I can see them – not in a drawer. Keeping my kit on my desk or coffee table in a bowl, basket, or square trinket dish (perhaps with a pretty jar filled with water) keeps things looking neat without hiding my tools away.
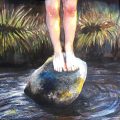
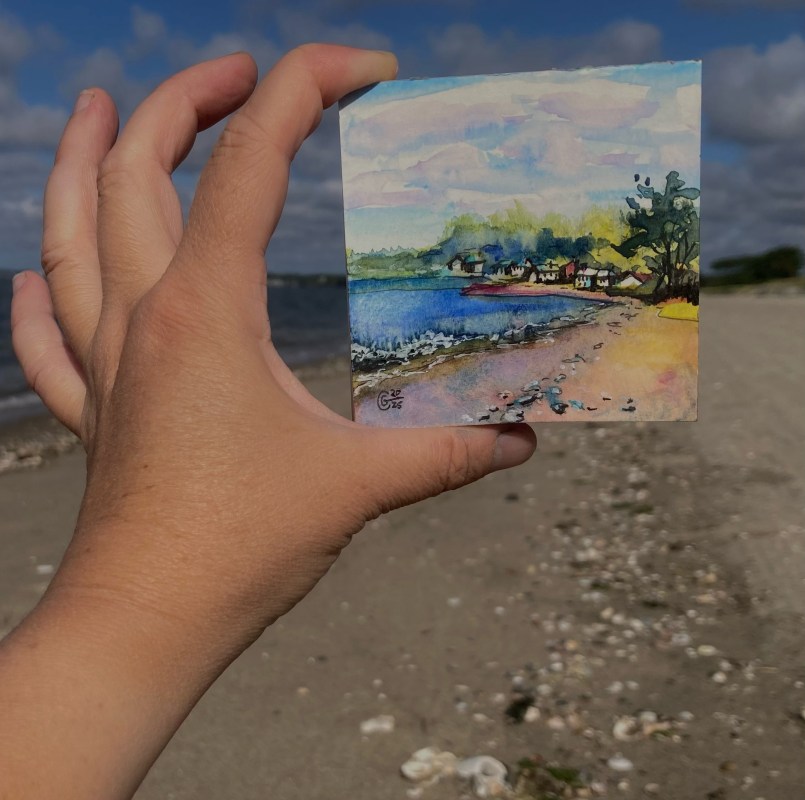
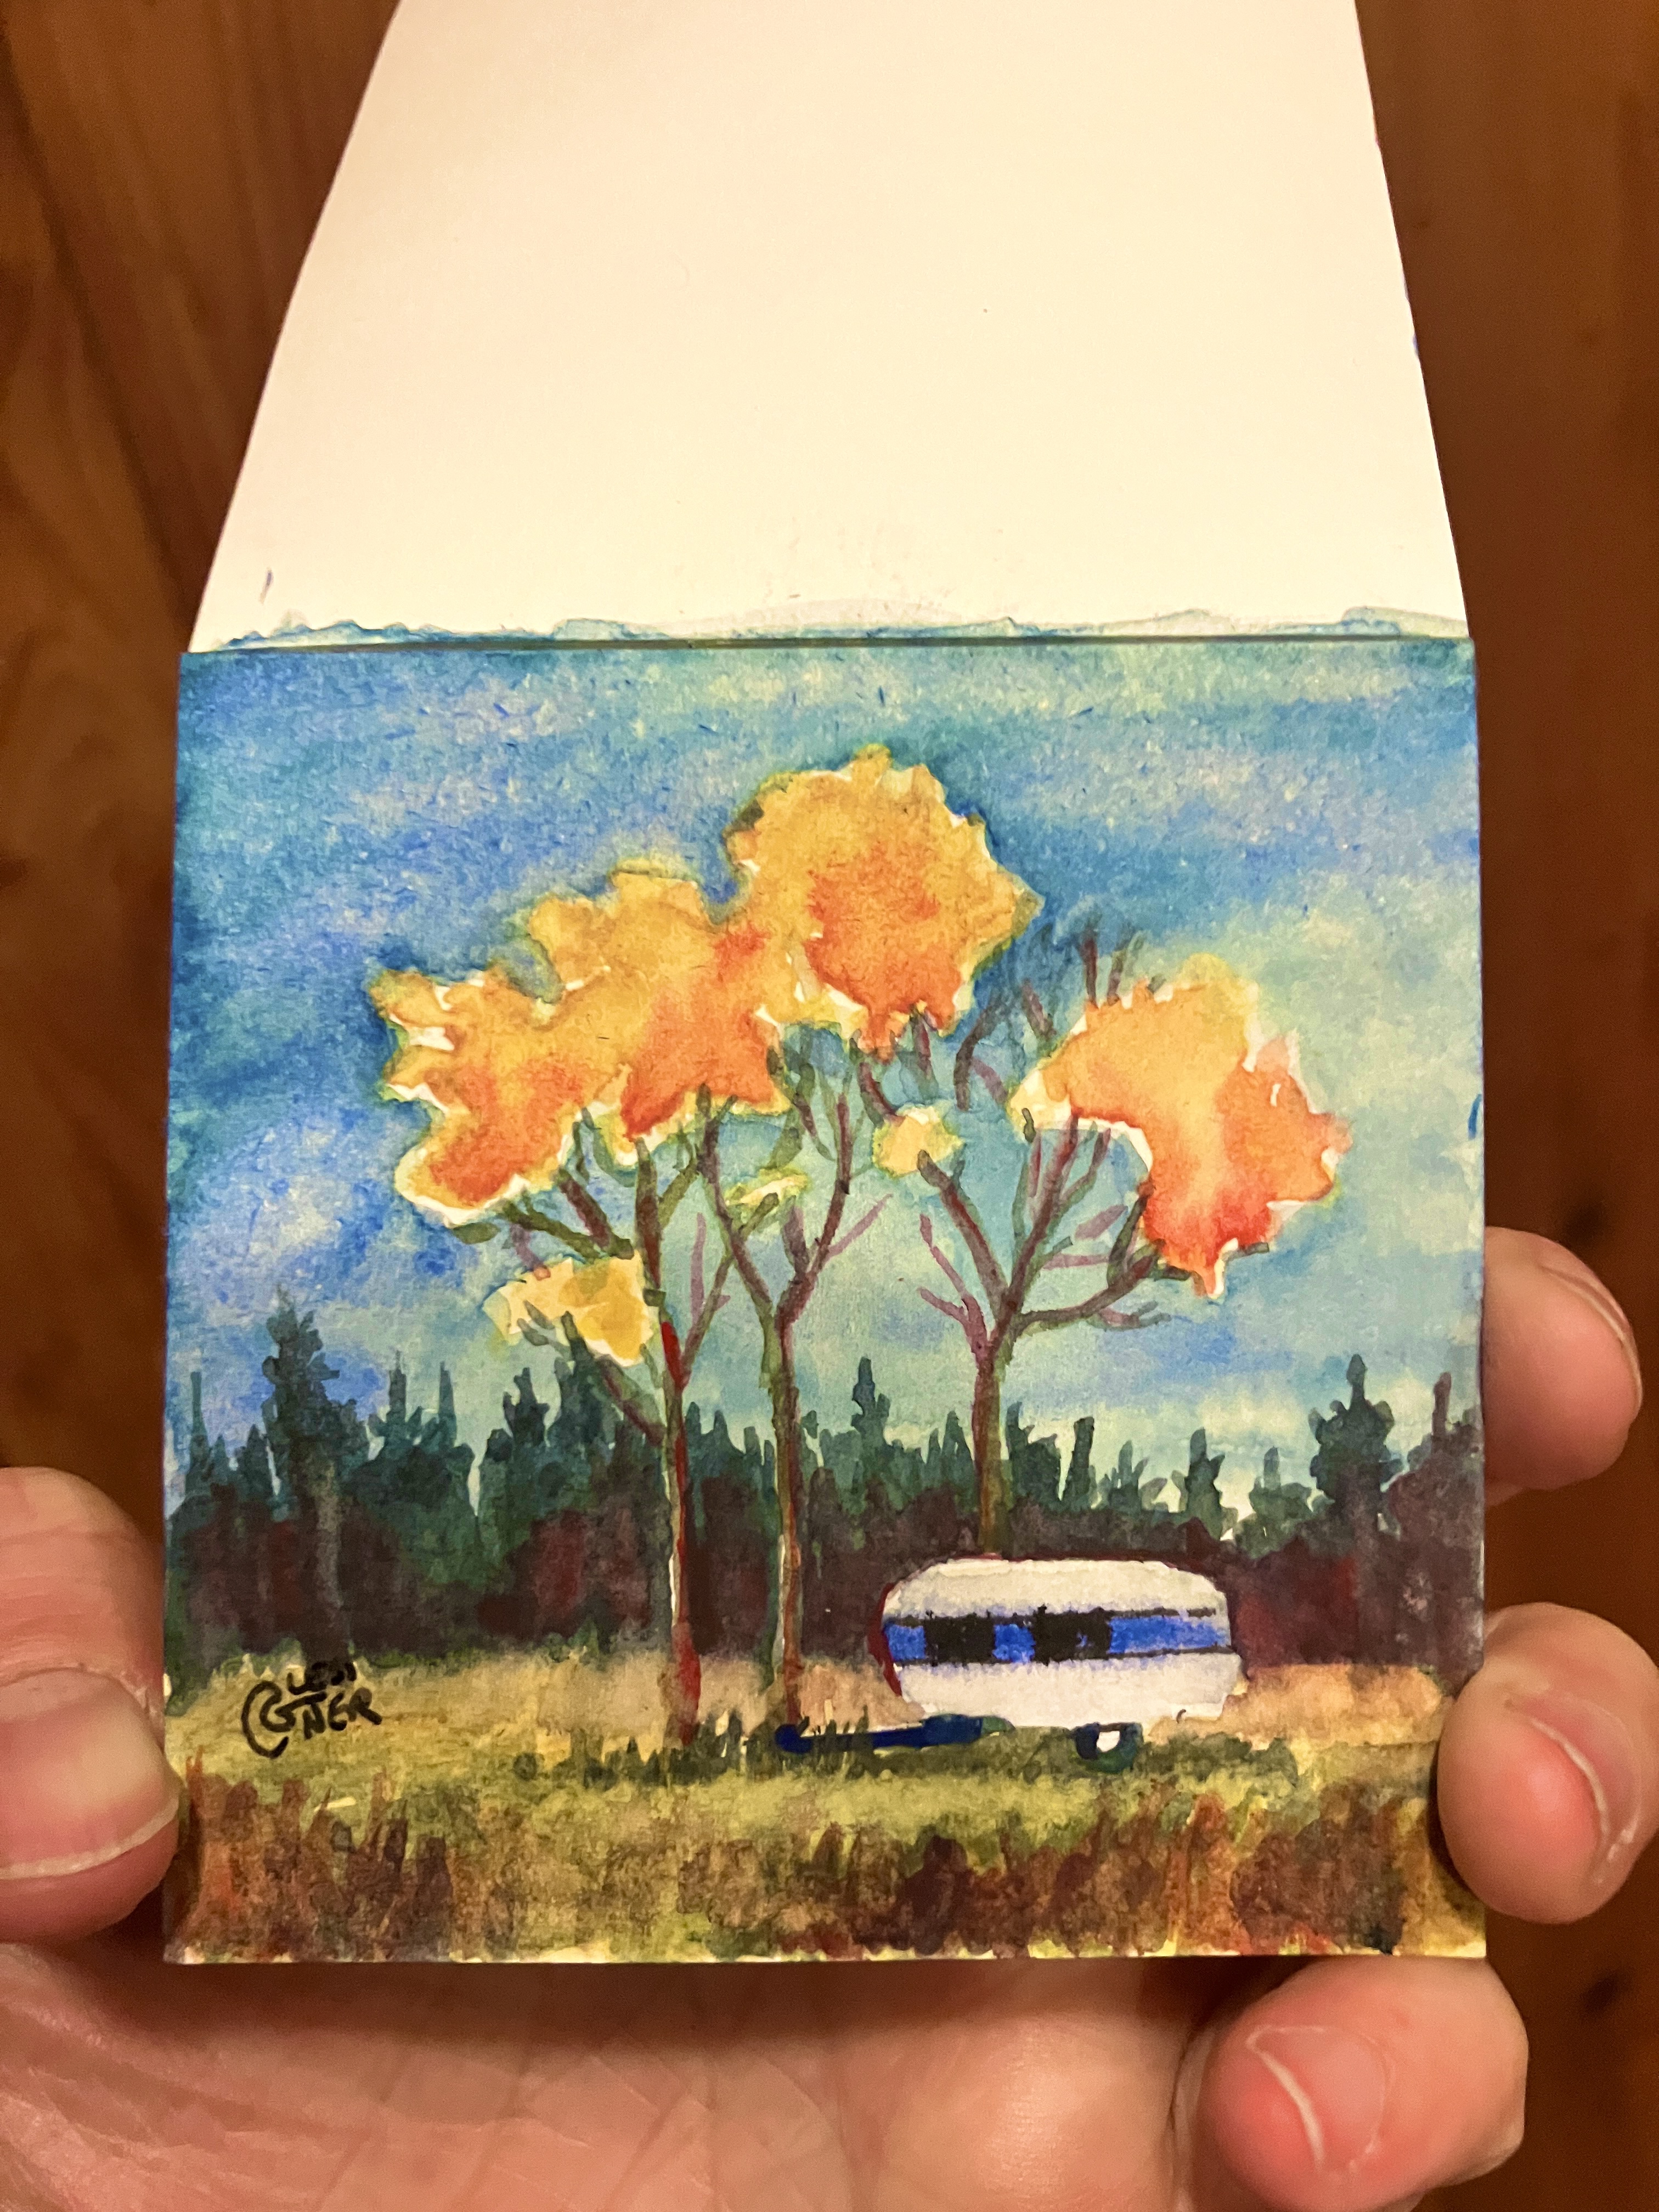
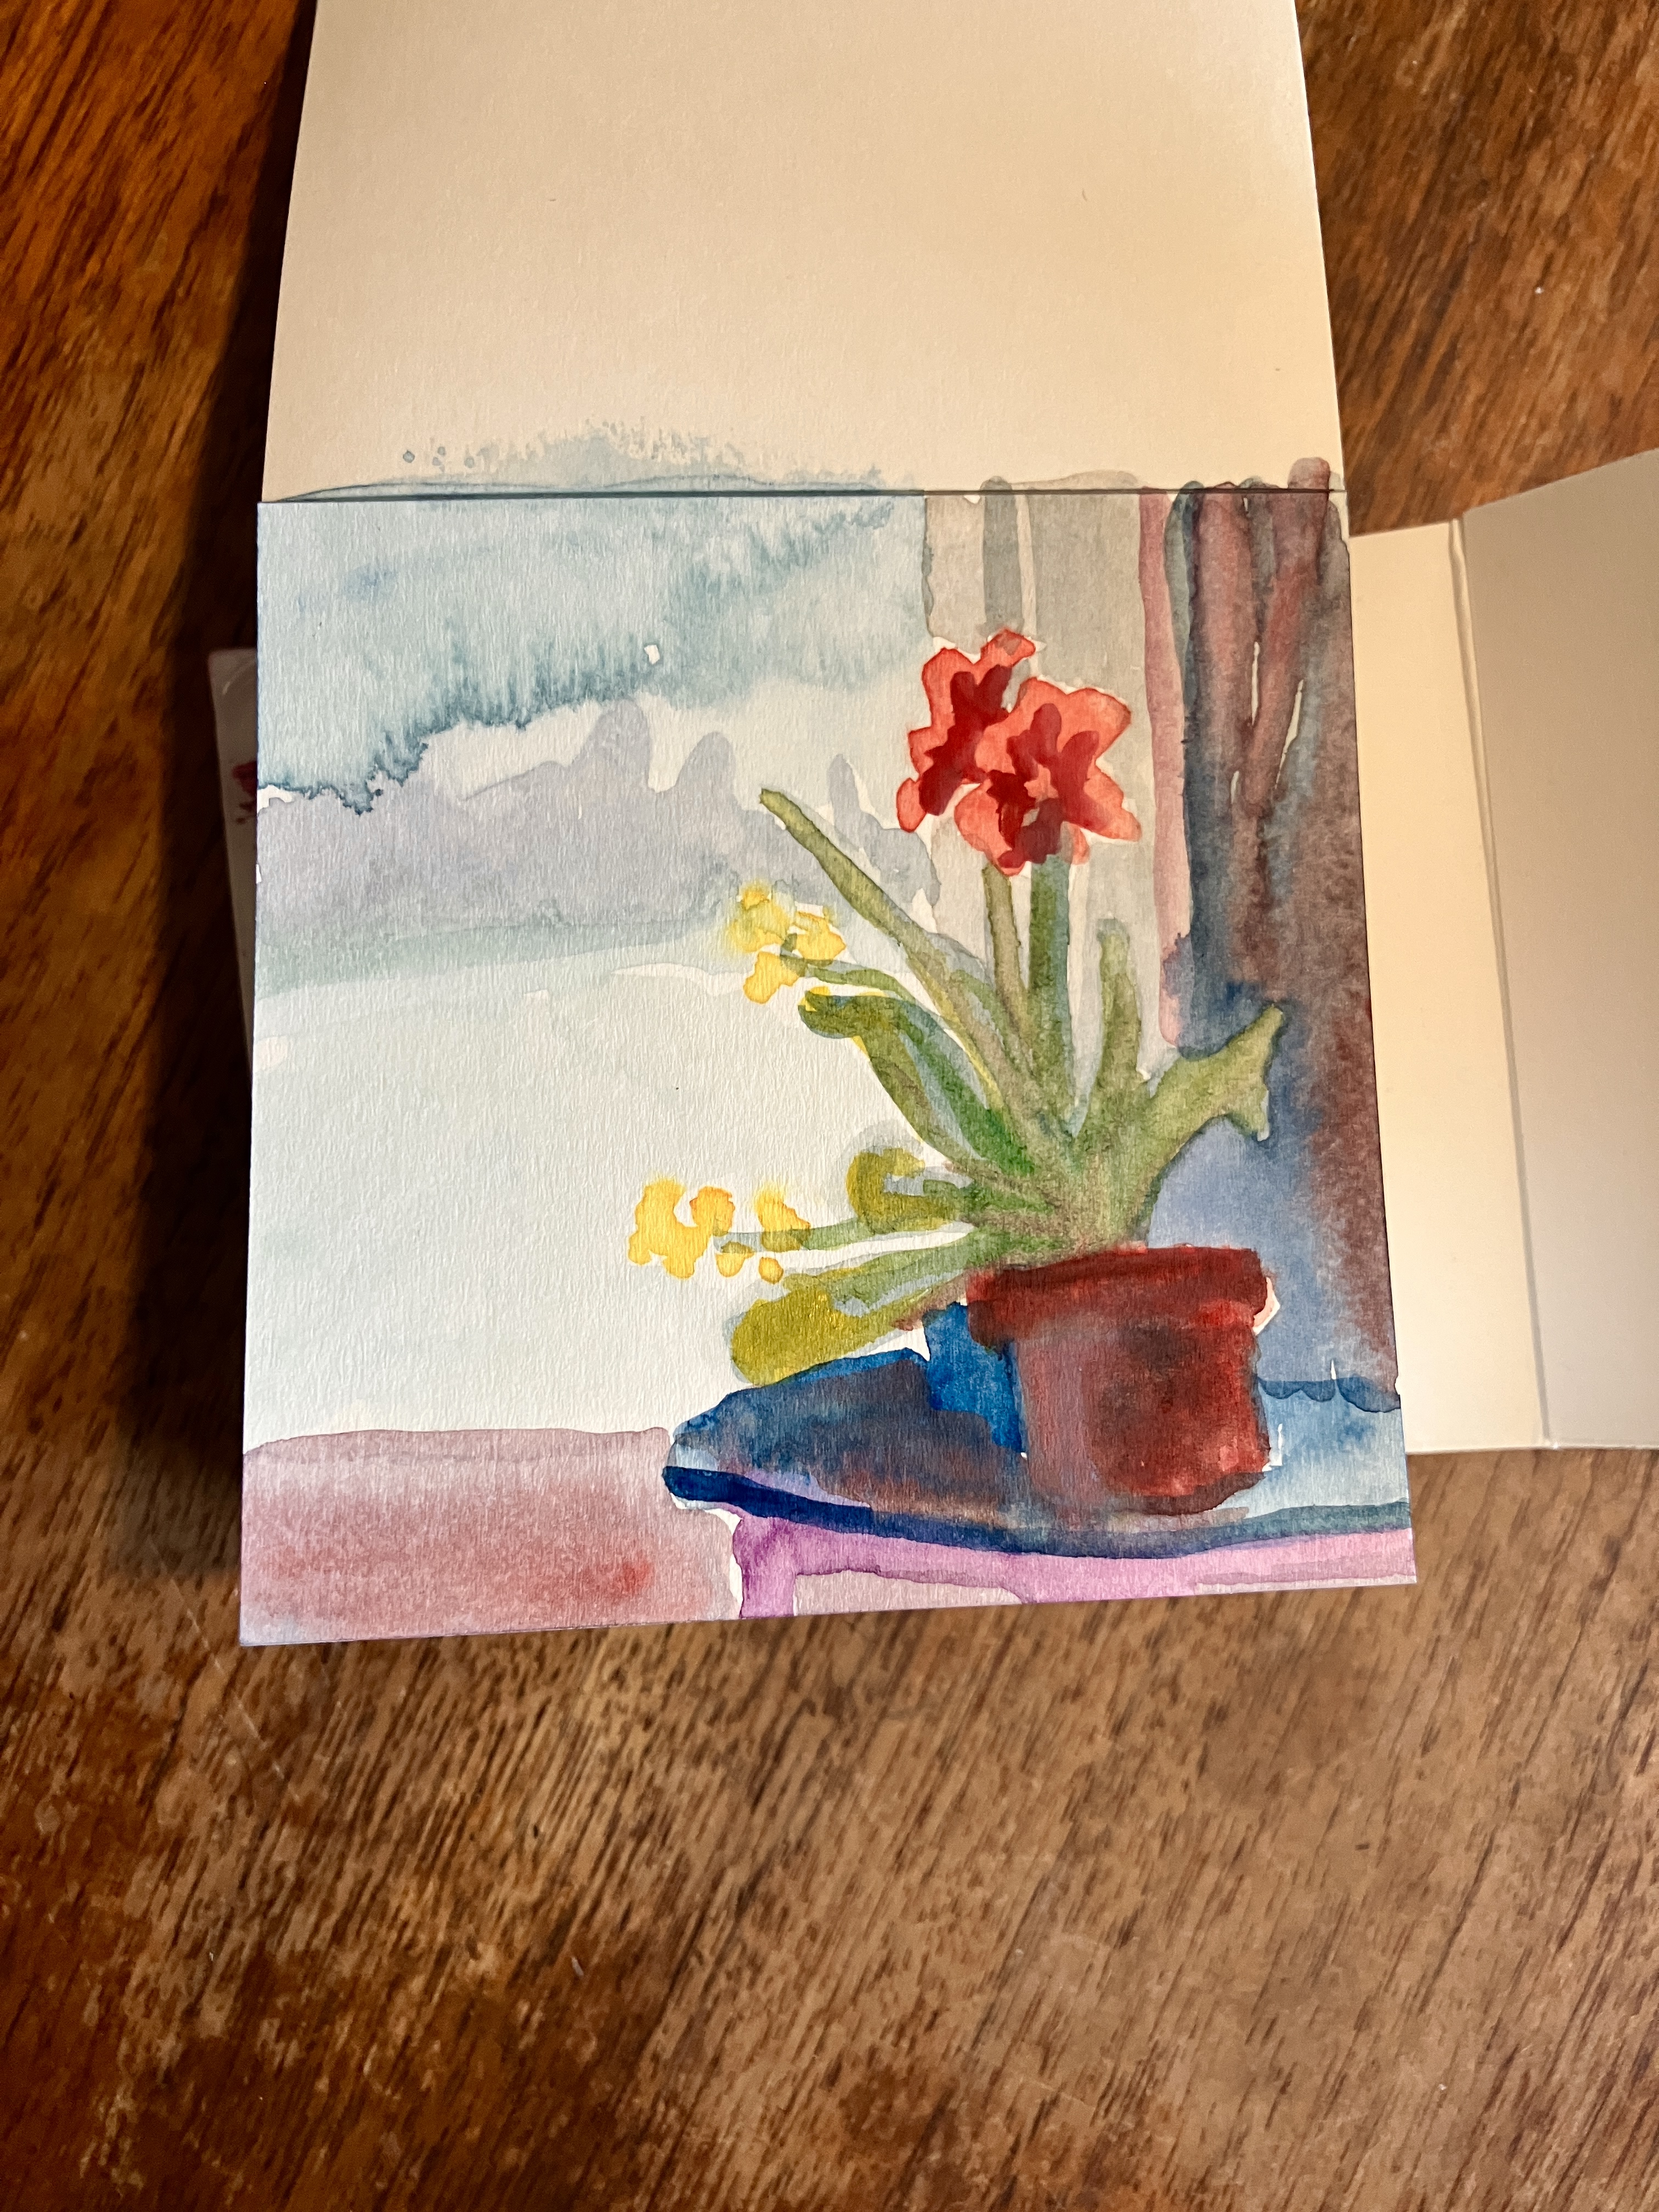
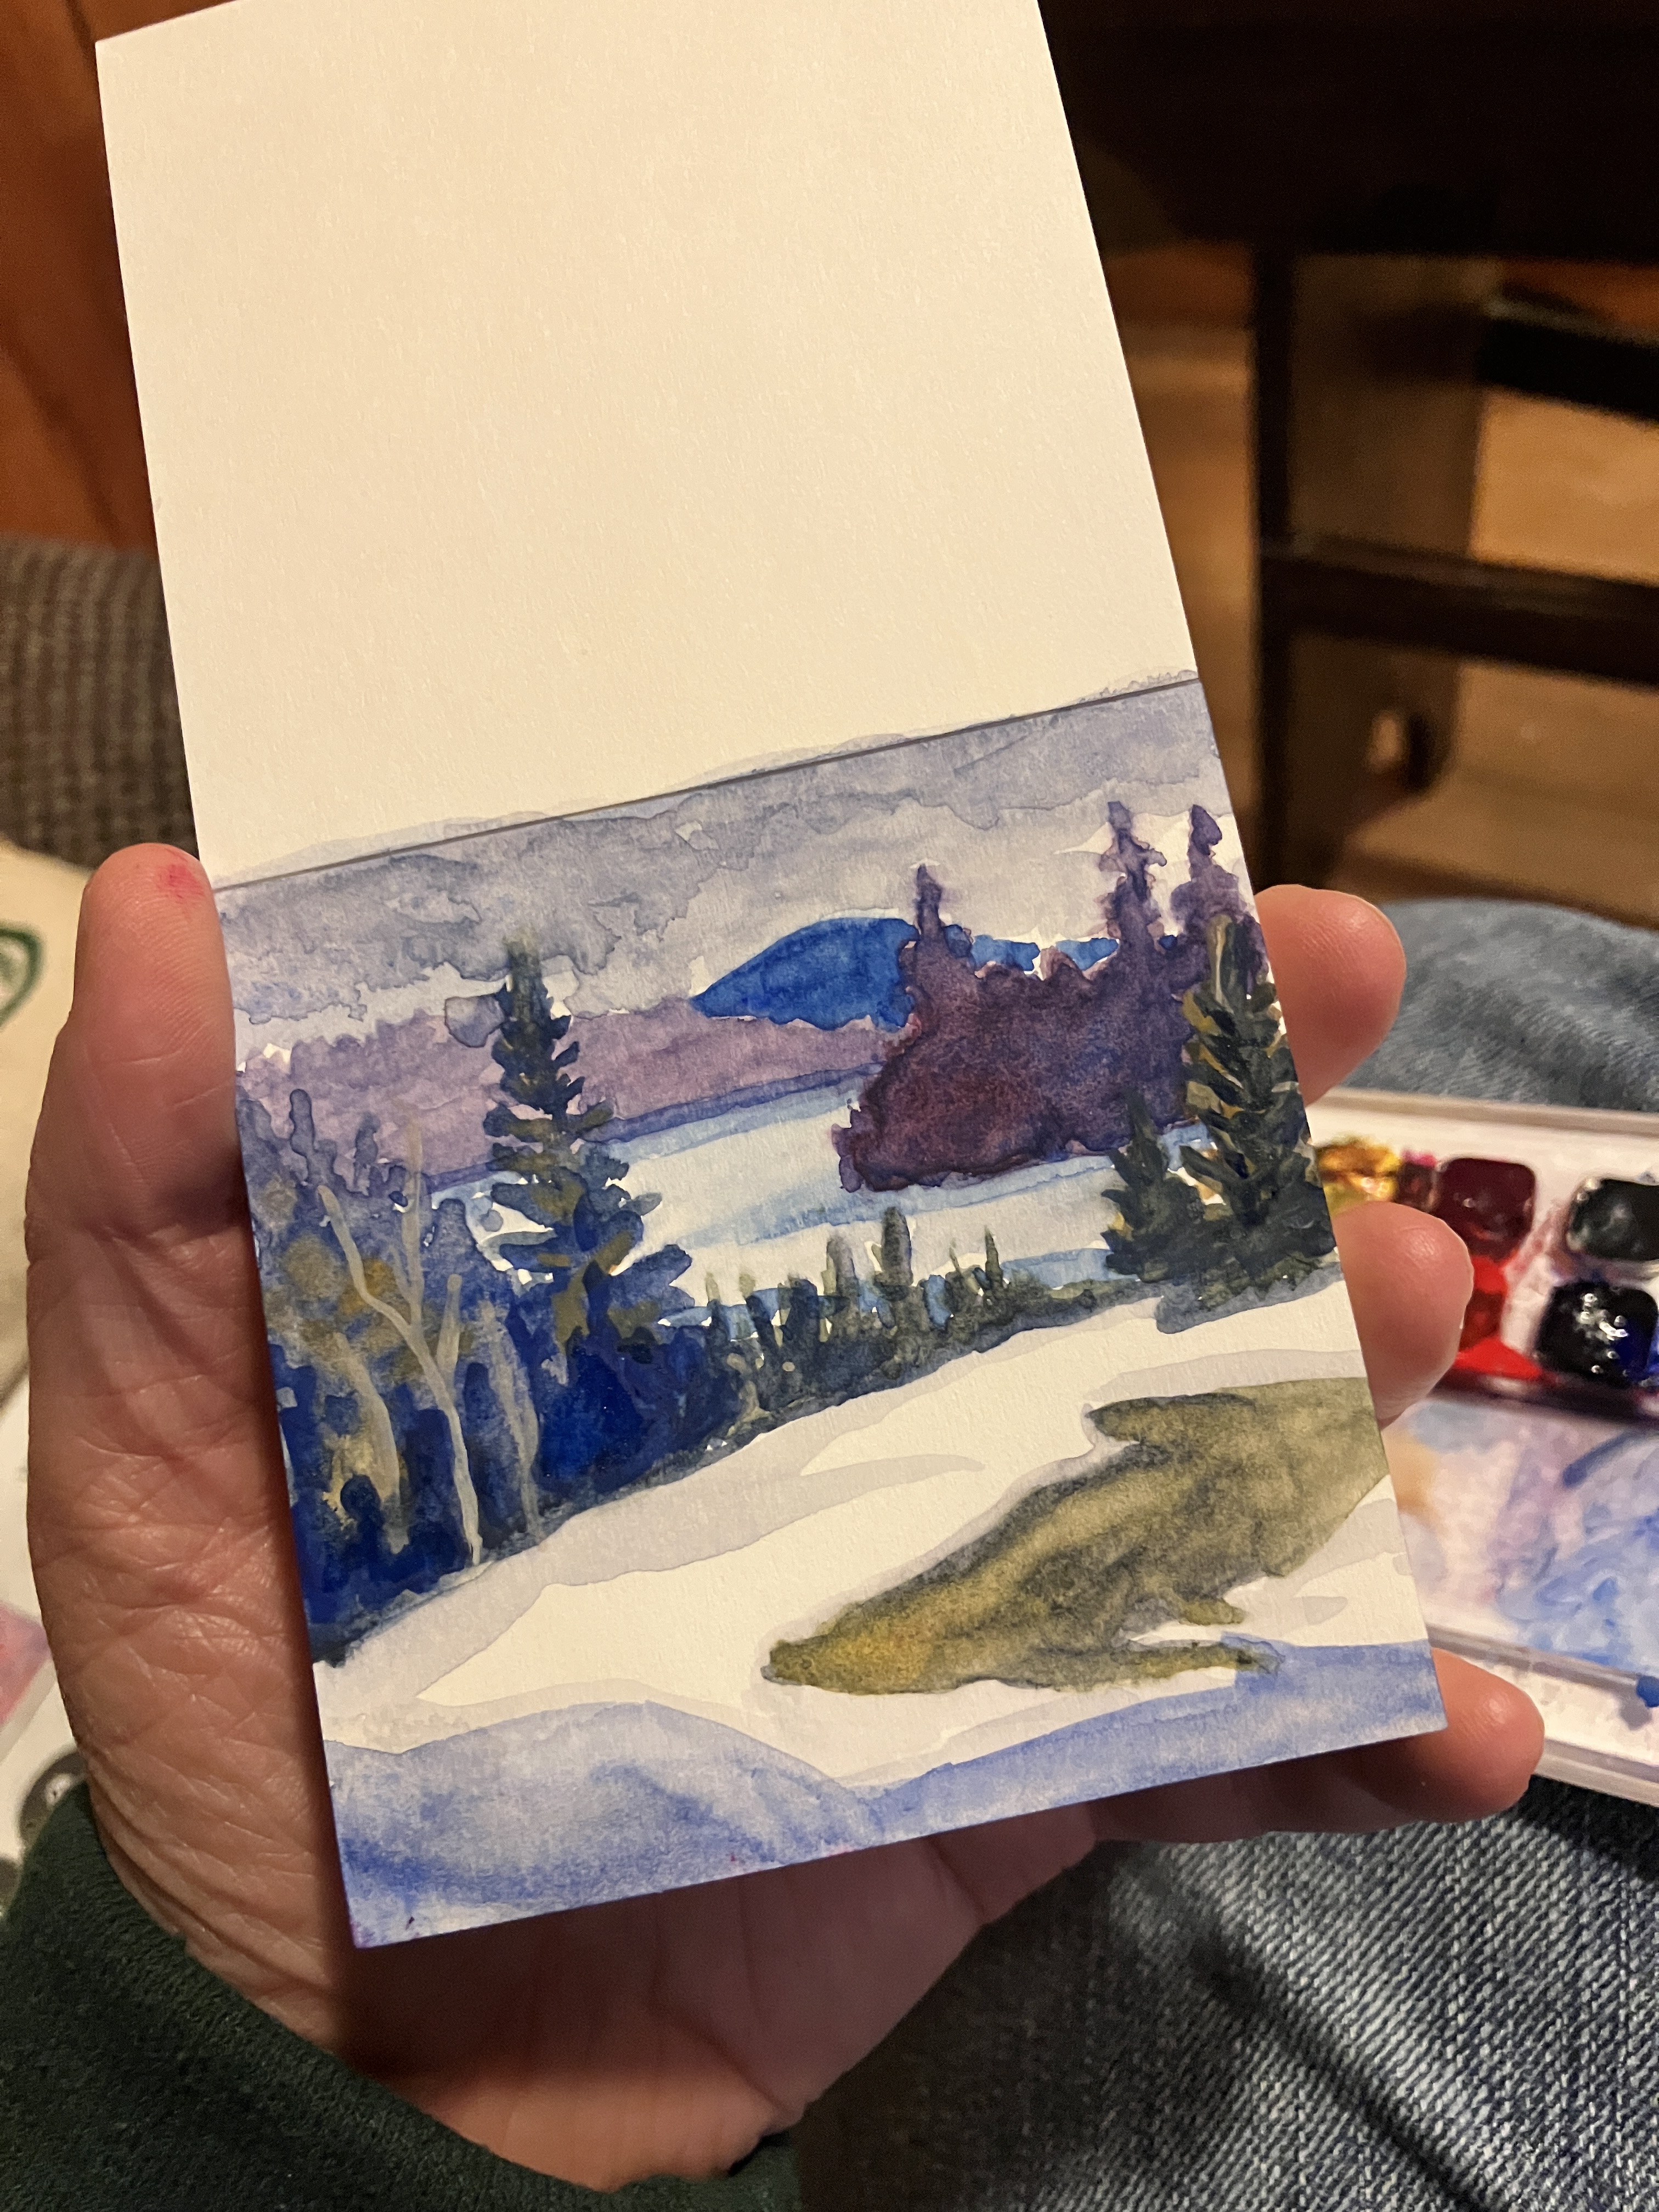
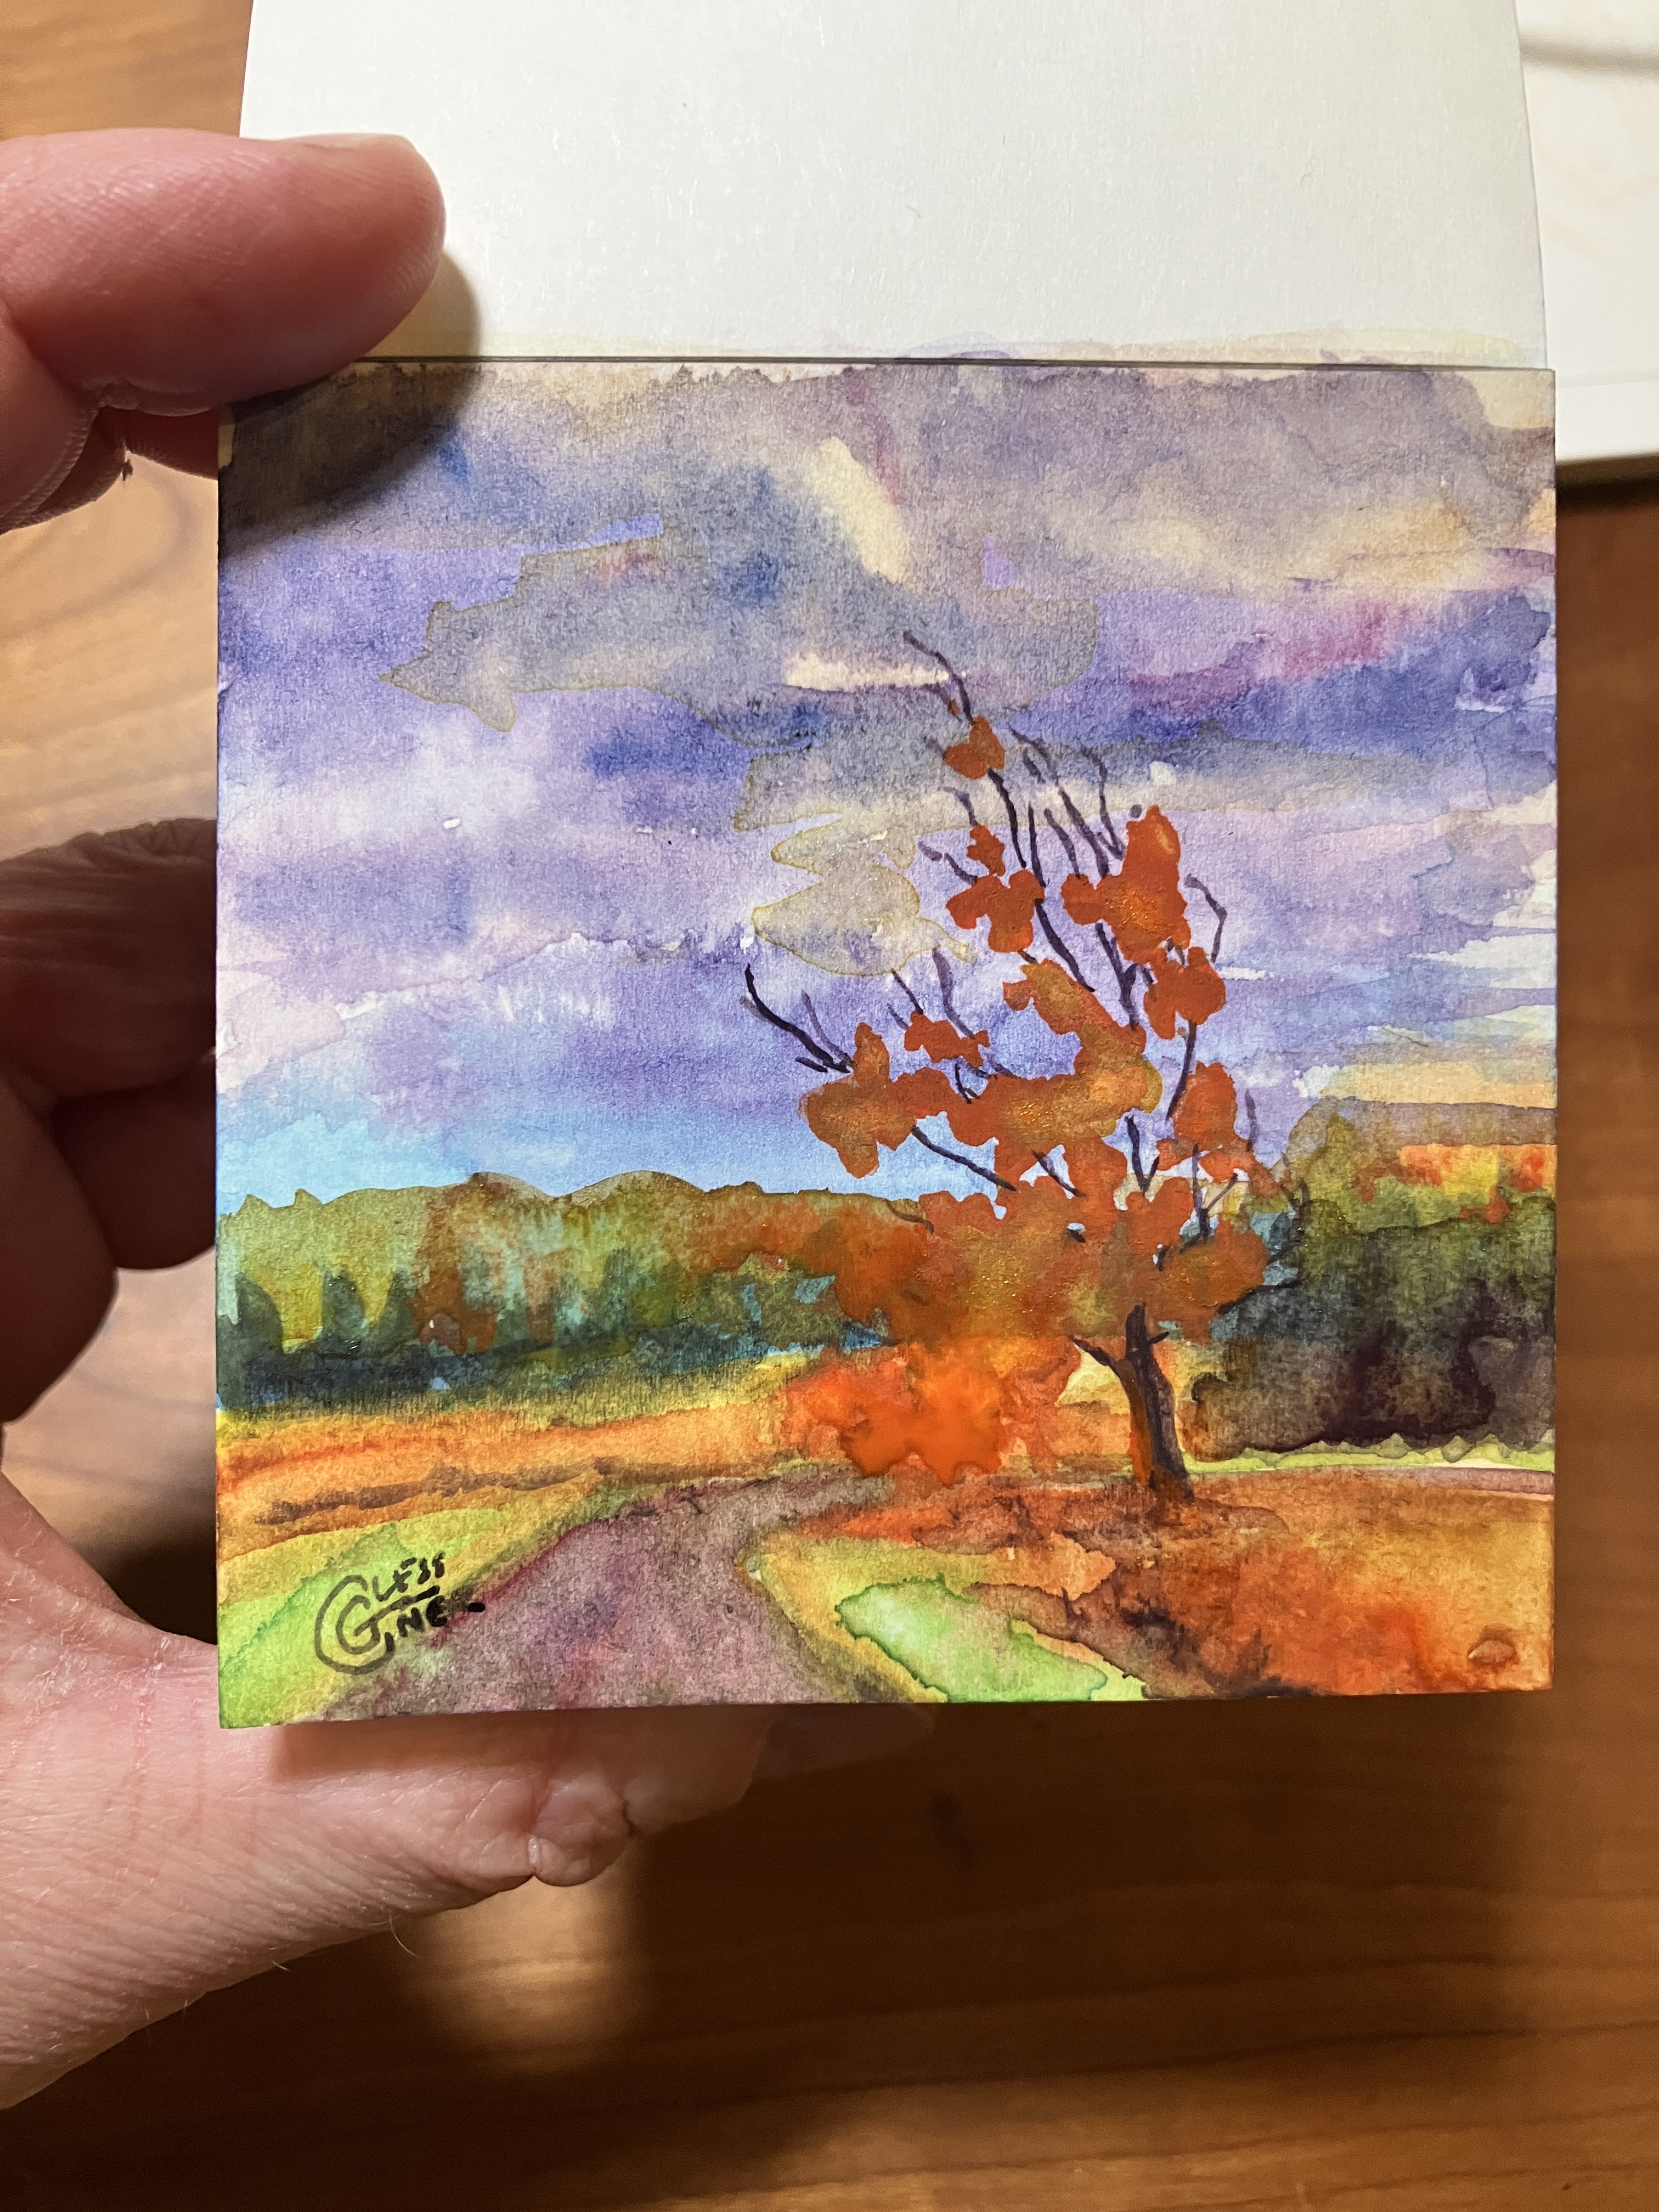
I’ll close with a mini-gallery of some of my mini art – all 3×3.” Here’s to a New Year filled with art of all sizes!

I write about a different watercolor topic every Sunday! Subscribe to have the articles delivered right to your inbox. More subscribers will help me get more exciting interviews and products to test, so thanks for your help!
