Having white or light highlights in a watercolor can feel like the ultimate challenge of this medium. Unlike oils, acrylics, or other opaque media, watercolors are generally painted light to dark, so it’s easy to get a painting to the final stages and realize too much of the paper is covered, too much of the sparkle is lost. However, having those highlights can be easier when you know just how many ways there are to get whites in your watercolor. Even experienced painters can expand their capabilities by experimenting with new methods for saving or making highlights. I’ve aimed to assemble an exhaustive list of techniques below, so please share in the comments if there’s a method, tip, or trick you’ve tried that I’ve missed!
There are three ways to have white in watercolor: you can preserve the white of the paper, you can remove paint to reveal the white of the paper, and you can add opaque white. I’ll discuss multiple methods and tips for each category below.
Preserving White
Simply painting around the areas you wish to keep white is the most basic version of this method, and it’s often the best. However, it can sometimes be easier to block paint from reaching the areas you want to keep white so you don’t have to be so careful, or so you can use a free-flowing wash. Here are some white preservation tools:
Masking Fluid (also called Liquid Frisket) Masking fluid is made from latex dissolved in a liquid (often ammonia) so that it has a paintable consistency. As soon as it’s exposed to the air, it begins to dry, creating a protective film over the paper. To remove it, you can rub it off with your fingers or a soft eraser, similarly to rubber cement. There are many brands available, which in my experience have similar performance (though many folks have firm favorites). They come in different colors, with some people preferring tinted fluid for visibility and others preferring white or clear. Masking fluid can be troublesome to apply as it will dry and harden on your tools while you are getting it onto your paper. A brush full of dried masking fluid is pretty much impossible to restore. It’s sold in small jars as well as squeeze bottles that double as applicators. Store well-sealed in a cool, dark place or you’re likely to find the whole jar has kicked since the last time you used it. It’s always best to test masking fluid before use as it can “go off” and become harder to remove, stain the paper, or otherwise make a mess of things. If you dry your work with a hair drier, make sure the heated fluid will still come off the paper easily. Masking fluid can be best thinned with either water or ammonia, depending on the brand. Thinning can make application much easier, but overly thinned fluid will develop pin-holes as it dries. You’ll need to experiment to find your happy medium.
Application Methods:
- Paint it on with a brush. Use an inexpensive brush, and coat the bristles thoroughly with dish soap before you start – this will make it possible to clean it.
- Draw it on using a dip pen (some people use a brush to move the masking fluid into the pen)
- Spread it on using a rubber “color shaping tool,” which are easy to clean
- Buy it in a fine line applicator bottle. The type with a wire built into the cap to keep the applicator tip clear work best.
- Make your own “stamp” to apply masking fluid in random patterns for sparkly foliage, gravel, etc. Sponges, crumpled paper, and splayed old paint brushes can make good stamps
- Splatter paint thinned masking fluid using a brush
Best For: Hard-edged highlights, small areas, special effects
Painter’s Tape: Blue Tape, Frog Tape, or other brands of painter’s tape designed to be easily removable even after being in place for many days all work well for masking. Tapes sold specifically for artists (such as Holbein Soft Tape) also work, and have the benefit of being a less-distracting, natural color. Regular masking tape doesn’t always come off without tearing the paper, especially if it’s gotten warm in the sun or under a hair dryer, or if you need to leave it in place for a few days. Peel tape off slowly and carefully to avoid tearing the paper.
Application Methods:
- Tape across the paper to create straight horizon lines and other long, straight delineations
- Rip the tape to create softer-edged masked shapes
- Cut out shapes with scissors to mask small areas like the moon in a nightscape
- Stick together multiple pieces of tape to mask larger areas
- Use a piece of waxed paper (cut to shape and with the edges completely taped down) to mask really large areas, such as if half your painting needs to be protected from splatter painting or another less-controlled application method
Best For: Long straight lines, protecting large areas
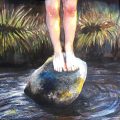
Wax: Use clear or white wax, such as a white crayon or a small candle, to draw on the paper. The wax will resist the paint, keeping the white paper under the wax visible. This method was frequently used by John Singer Sargent in his watercolors (here’s an example), and allows for convenient and spontaneous (though not particularly exact) application. The wax is not removable, but is not very visible in the finished painting.
Application Methods:
- Color lightly across the surface of the paper using the side of the crayon or candle so that only the high spots of the paper are coated. This method works well to create sparkling water.
- Sharpen your crayon and color more firmly to create details (though edges will still be uneven)
Best For: Sparkling effects on large areas, rushing water, spontaneous broken lines
Graphite Pencil: A thick coat of graphite will also repel watercolors, and can be erased with a soft eraser when your painting is finished, leaving a white area with rough edges and some pin-holes.
Application Methods:
Create an under-drawing with strong, dark pencil lines where you want to have white highlights. This works especially well for narrow, white halos around back-lit objects. Gently erase the graphite when your painting is complete.
Best For: fine, sometimes broken, white lines for subtle highlights
Revealing White
Underneath your paint, the paper is still white. Here’s a list of ways to remove the paint and make it visible again. All of these methods (except the razor blade) work best with non-staining, granulating pigments; and when the paint is freshly applied – though they may work in other situations as well. You probably won’t get back to the stark, bright white of unpainted paper with these methods, but you can certainly get satisfactory highlights.
- Paintbrush handle – Use the pointy end of a paintbrush handle to scratch or scrape lighter lines in a damp wash. Experiment first to find the right dampness level to get the effect you want. Best For: branches, distant tree trunks.
- Credit card – The edge of a credit card can be used in the same way as a paintbrush handle, with a slightly different effect. Cut up a card to make a custom scraping tool. Best For: grasses, abstract repetitive effects
- Paper towels, tissues, or rags – a crumpled paper towel or rag can be used to blot off and remove wet or dampened paint, creating abstract lighter shapes with subtly soft edges. Best For: clouds (works especially well with Cerulean Blue), lightening the value of an area without bringing it all the way back to white.
- Magic Eraser – Yes, the cleaning sponge! Cut off a smaller piece of sponge, wet it and then wring it out so that it’s just damp, and then use it to gently wipe away paint. Artist versions that are pre-cut into wedges are also available. Many pigments will wipe completely clean. It’s very easy to damage the paper surface with Magic Eraser, so blot or wipe very gently, especially if you plan to re-paint the area. Best For: Removing larger areas of white, fixing mistakes or making large compositional changes.
- “Eradicator” or “scrubber” brush – These are smaller flat brushes with very short fibers, 1/4″ or sometimes less. You can buy excellent eradicator brushes from Rosemary and Co. and some other brush makers, or you can make your own by cutting the bristles shorter on an inexpensive nylon flat. Use a damp eradicator brush like a tiny scrub brush to loosen pigment from the paper, then blot up the loose pigment and water with a paper towel. Using this method, you can make crisp, white lines in granulating pigments; and lighter-value lines in staining pigments. Paint over a staining pigment with a granulating pigment, then use an eradicator brush to remove just the top layer of paint, revealing the staining pigment colors below. Homemade eradicators can have rough bristles that can damage your paper if used too vigorously, which is a good reason to consider buying a specially-made scrubber. Best For: cleaning up edges, fixing mistakes, creating textures like bark and grasses, wiping out lighter highlights.
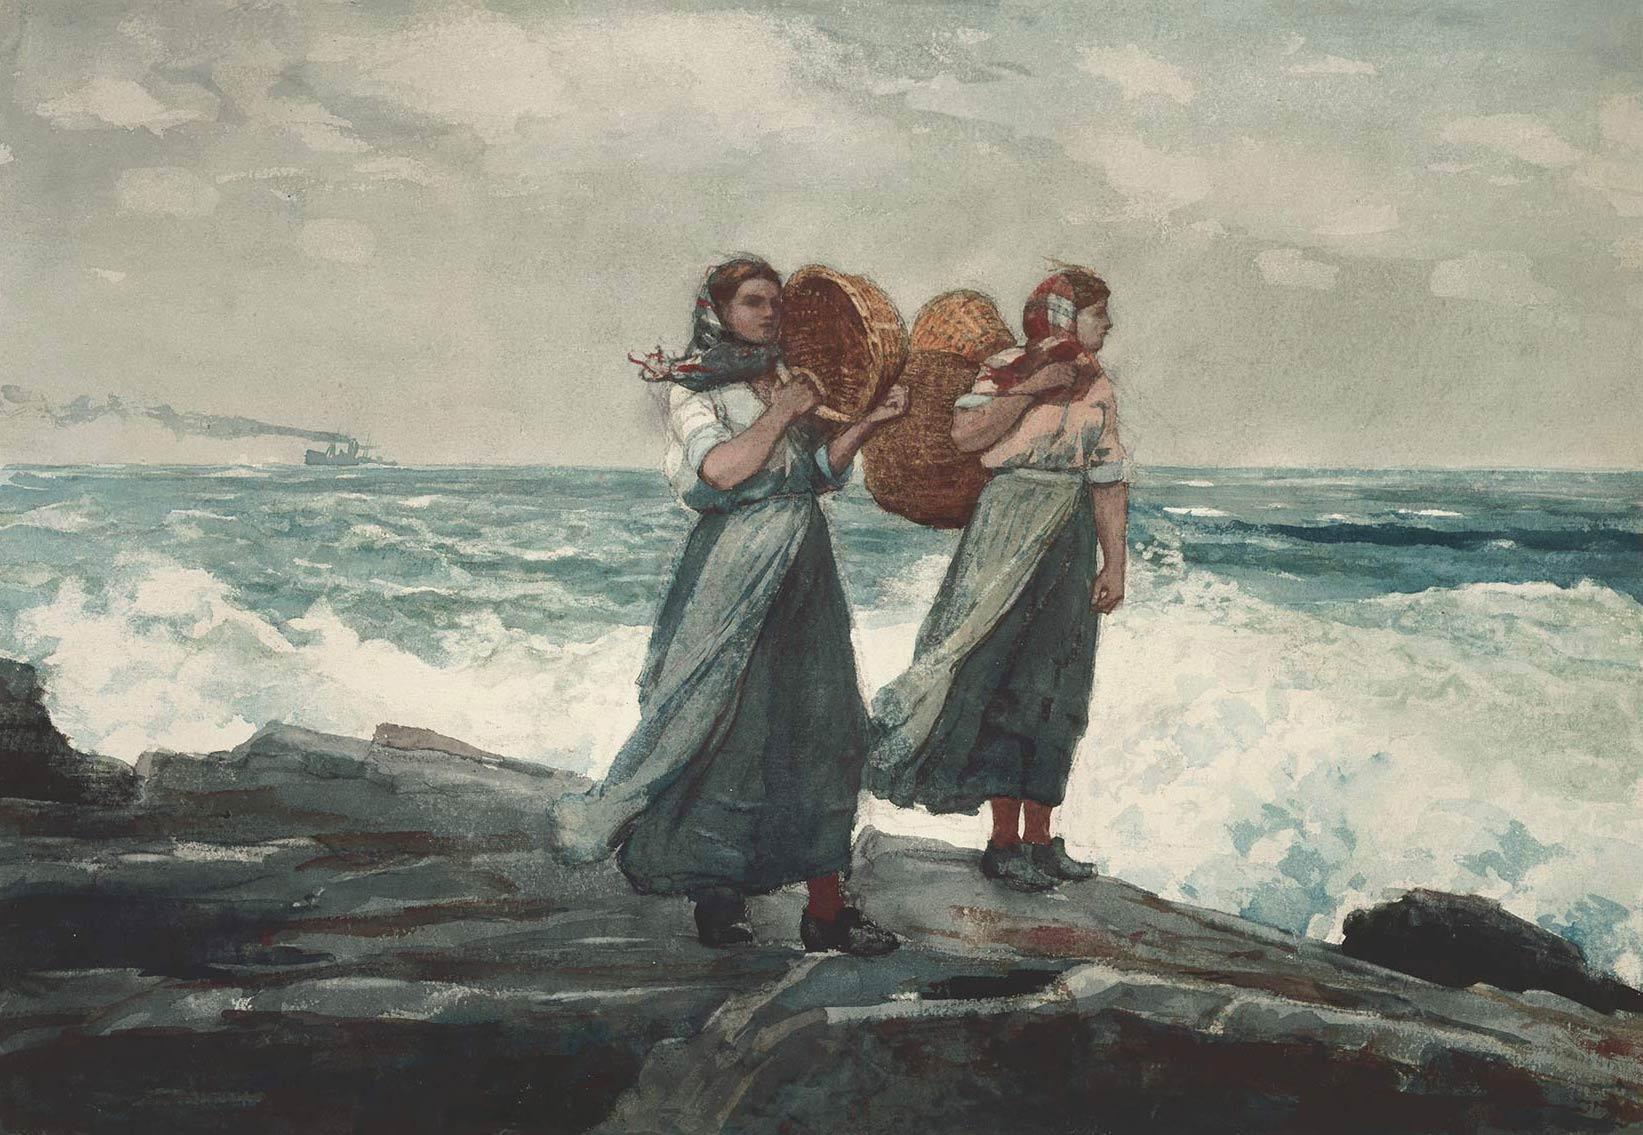
- Razor blade – a razor blade can “pick out” tiny highlights or sparkles by removing the top layer of the paper, revealing the bright white paper underneath. Larger areas can also be scraped out with a razor blade, but the paper texture will be fuzzy afterwards, and won’t take the paint the same way it did previously. Even so, some watercolor greats (such as Winslow Homer) used this method to remove (and then re-paint) large areas of paper. Removing large areas can be especially effective if it’s on a painting of something fuzzy, so that the fuzzed paper adds instead of detracting (like the dog in this Homer painting). Best For: tiny “sparkle” highlights, fuzzy things (like fur), fixing mistakes.
Adding White
Adding white by painting on opaque or semi-opaque white paint is an easy way to make highlights exactly where you want them, even if you’re making the final finishing touches on a painting. Some watercolorists see this as “cheating” and there are even shows that don’t allow paintings with opaque paint. On the other hand, being able to add highlights whenever you’d like is quite freeing, and can allow artists to present their best vision without constraint. There’s also lots of venerable historic precedents – most of the early watercolor greats used opaque and transparent paints together frequently. Look at some Winslow Homer waves or clouds for some amazing examples of added white. Besides opaque white highlights, semi-opaque white washes can be painted over a scene to give the illusion of fog or distance. White paint can be tinted with watercolor to make highlights of other hues as well. Add white paint as the last step of your painting, because if you attempt to paint a darker wash over opaque white, it will reactivate the paint, mixing it with other layers and making a dull, muddy area in your painting.
Several opaque white options are available to watercolorists. Many artists prefer a white watercolor or gouache (which is usually more opaque than watercolor) and can be reactivated with water and mix with other paints. Other folks opt for white acrylic paint, which is even more opaque, and can’t be reactivated accidentally. It should be noted that watercolor paintings using acrylic highlights may need to be labeled as “mixed media” and may no longer be eligible for some watercolor shows. The white pigment used in the paint also makes a difference:
Titanium White (PW6) – Titanium White is the most opaque, with the best covering power. My favorite Titanium White product to use for highlights is Pro-White, a white gouache water soluable “ink” that comes in a small jar, is extremely opaque, but can also be blotted and removed with water like a watercolor. The consistency is thin enough that it can also be applied with a dip pen. Best For: opaque highlights and larger white or light areas when applied as a final touch. Can be applied light over dark.
Zinc White (PW4) – Zinc White is often sold as “Chinese White” in watercolors, and may be called “Mixing White” in gouache. Zinc White is less opaque than Titanium, making it the best choice for semi-opaque white glazes. Best For: mist and fog effects, creating a haze to give the illusion of distance.
There you have it! One dozen ways to add white to your watercolors. Got a method I missed or a favorite technique? Share it in the comments! And as always, don’t forget to subscribe if you’d like these articles delivered to your inbox every week.

